

Apple first included a dual-lens camera onto its iPhone 7 Plus back in late-2016, yet not many developers besides Apple have harnessed the depth data that "Portrait" mode photos provide. A relatively new app is changing that, though, by using that depth information to let you add realistic-looking light sources to your photos.
Created by Indice Ltd and first released in the iOS App Store on May 18, 2018, "Apollo: Immersive illumination" works with photos taken in Portrait mode on the iPhone 7 Plus, iPhone 8 Plus, and iPhone X. It also works with Portrait lighting modes, though, Apple's lighting effects that you use will be removed before Apollo can work its magic; You can't add Apollo effects on top of Apple's lighting effects.
With this app, you can add up to 20 different light sources to any image it can read the depth information for. As for editing, there are two global settings you can adjust on the whole photo (shadows and effect range), as well as four parameters you can calibrate for each light source (color, distance, brightness, and spread).
Apollo is the first app to use the depth data of your portrait mode photos to calculate photorealistic lighting. Using a proprietary graphics card processing algorithm, Apollo is able to illuminate a portrait scene in real time. Load up a photo from your gallery and start adding lights. Apollo will realistically calculate the effect of the light's distance, color, intensity etc.
Apollo does cost $1.99, but if you're a photo enthusiast that wants to make your subjects pop with realistic lighting effects, create a different mood in the picture, or add halos and emphasize silhouettes, it's an excellent investment.
Step 1: Install Apollo
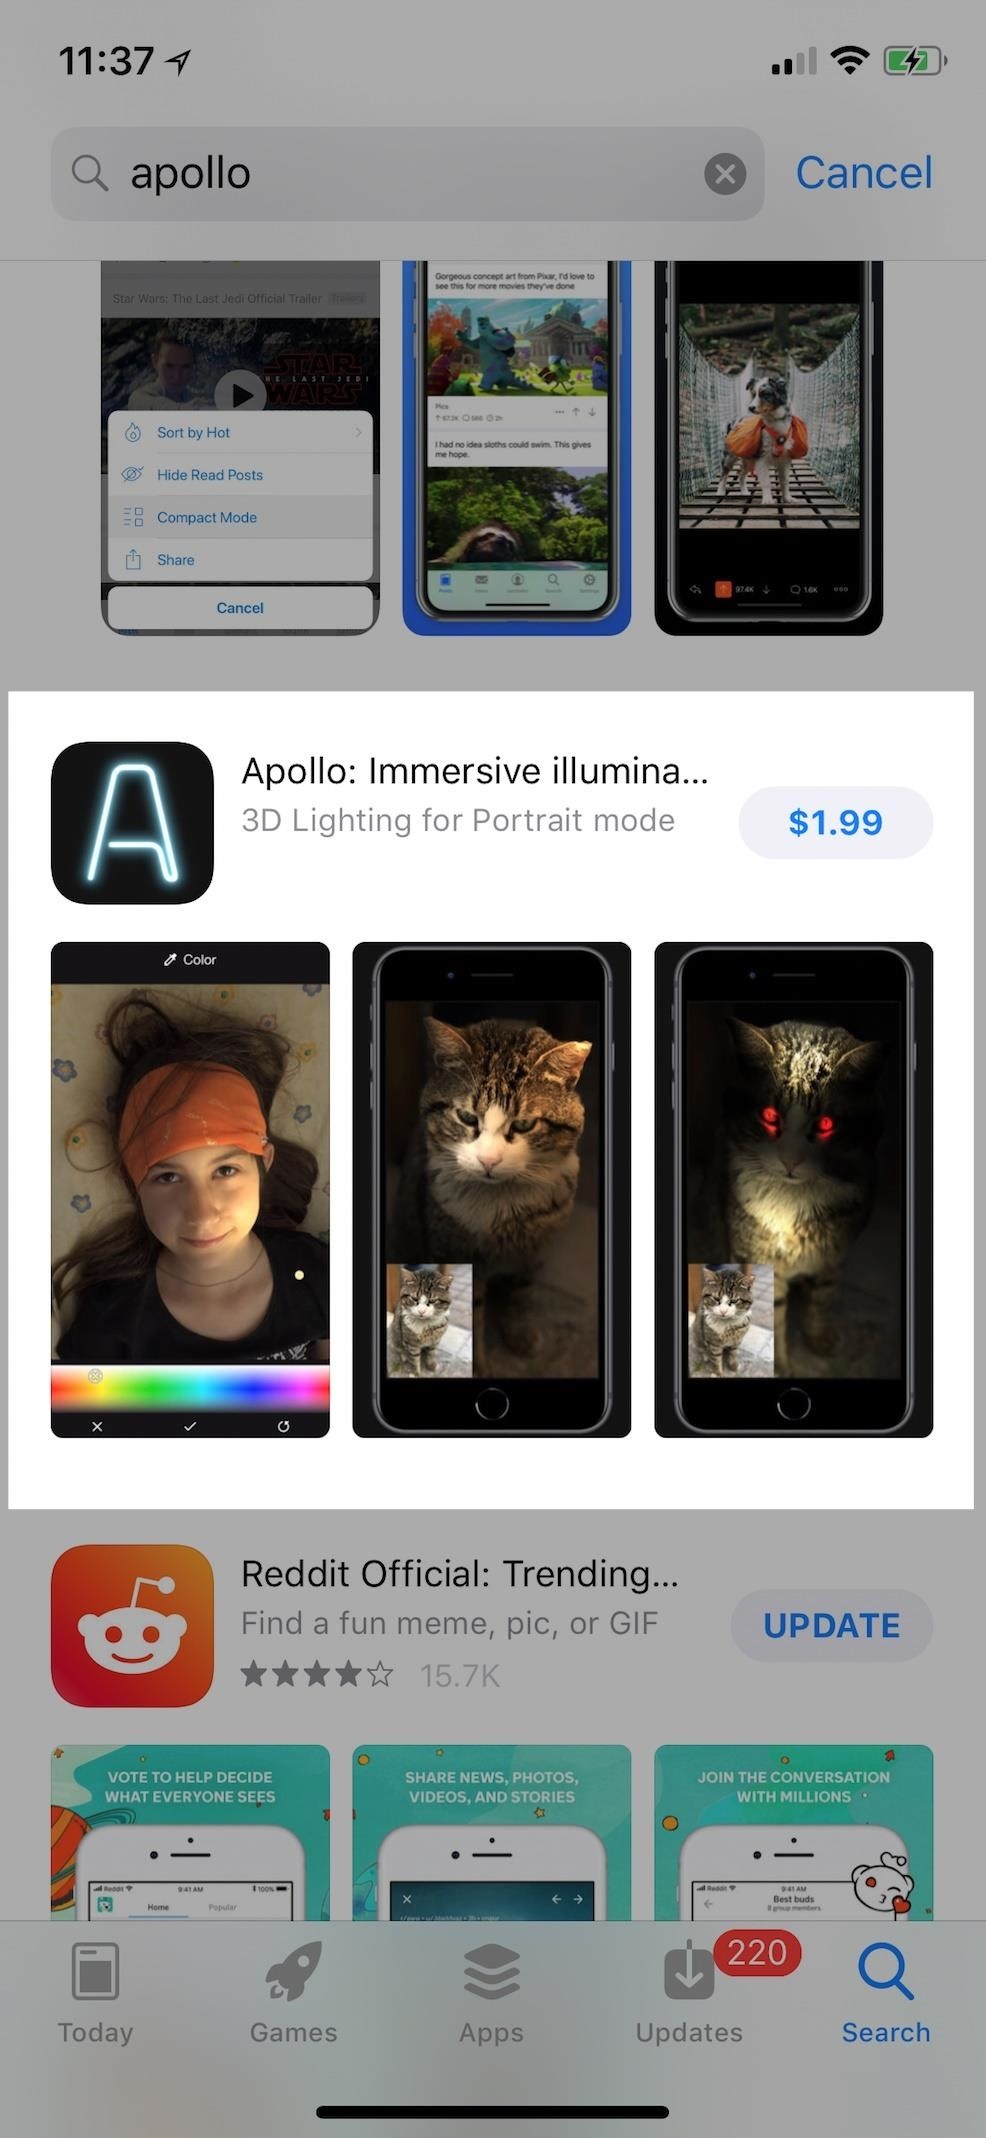
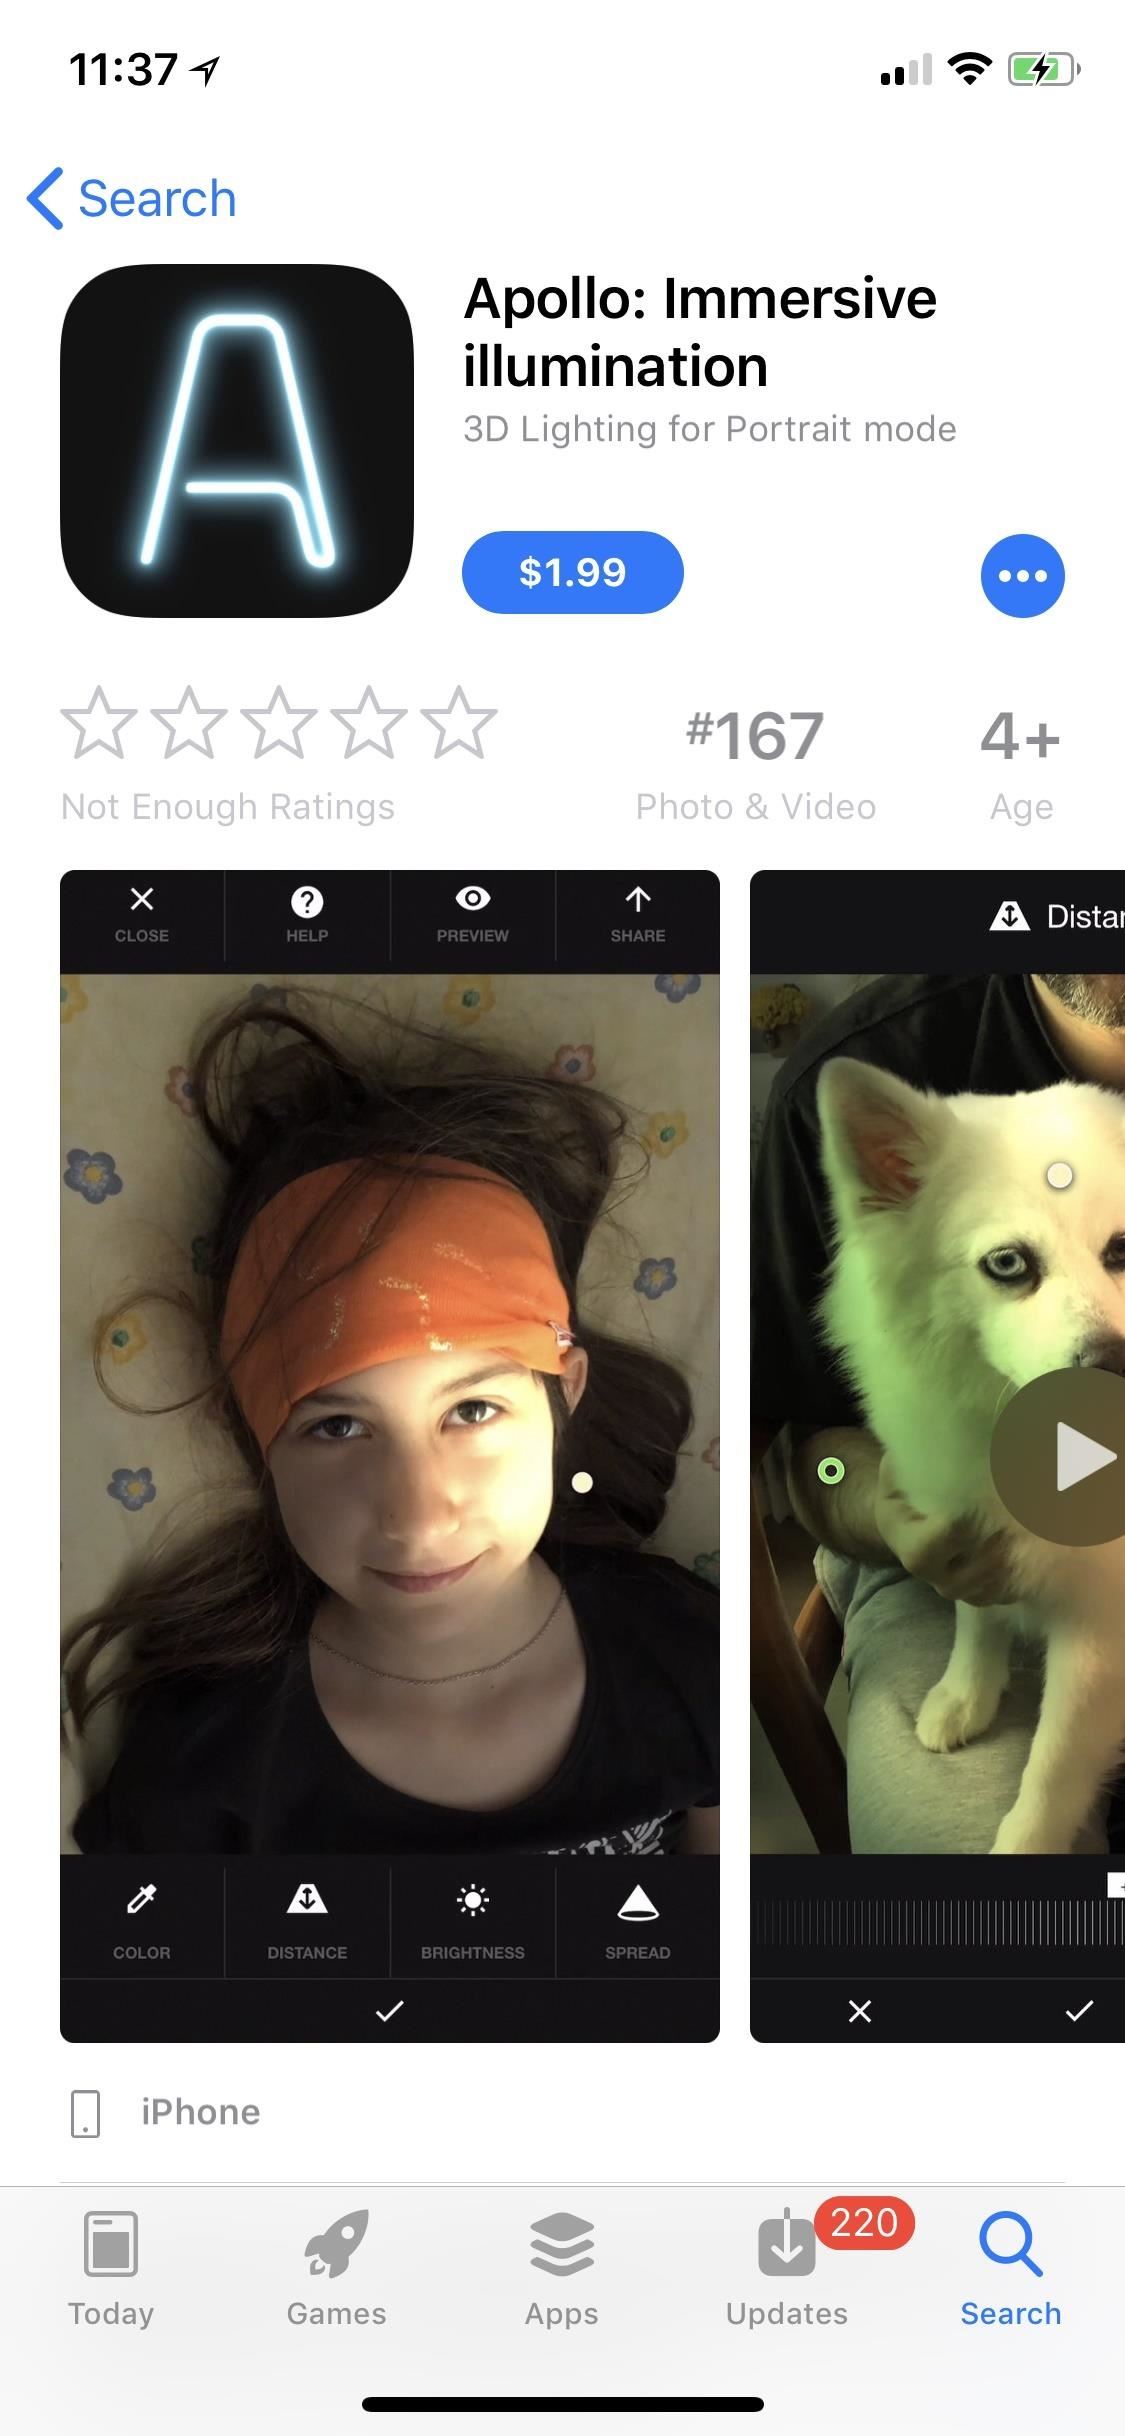
If you haven't done so already, jump into the App Store to purchase and install "Apollo: Immersive illumination" on your iPhone. Remember, this is only for the 7 Plus, 8 Plus, and X — iPhones with dual-lens cameras.
Step 2: Find the Photo That You Want
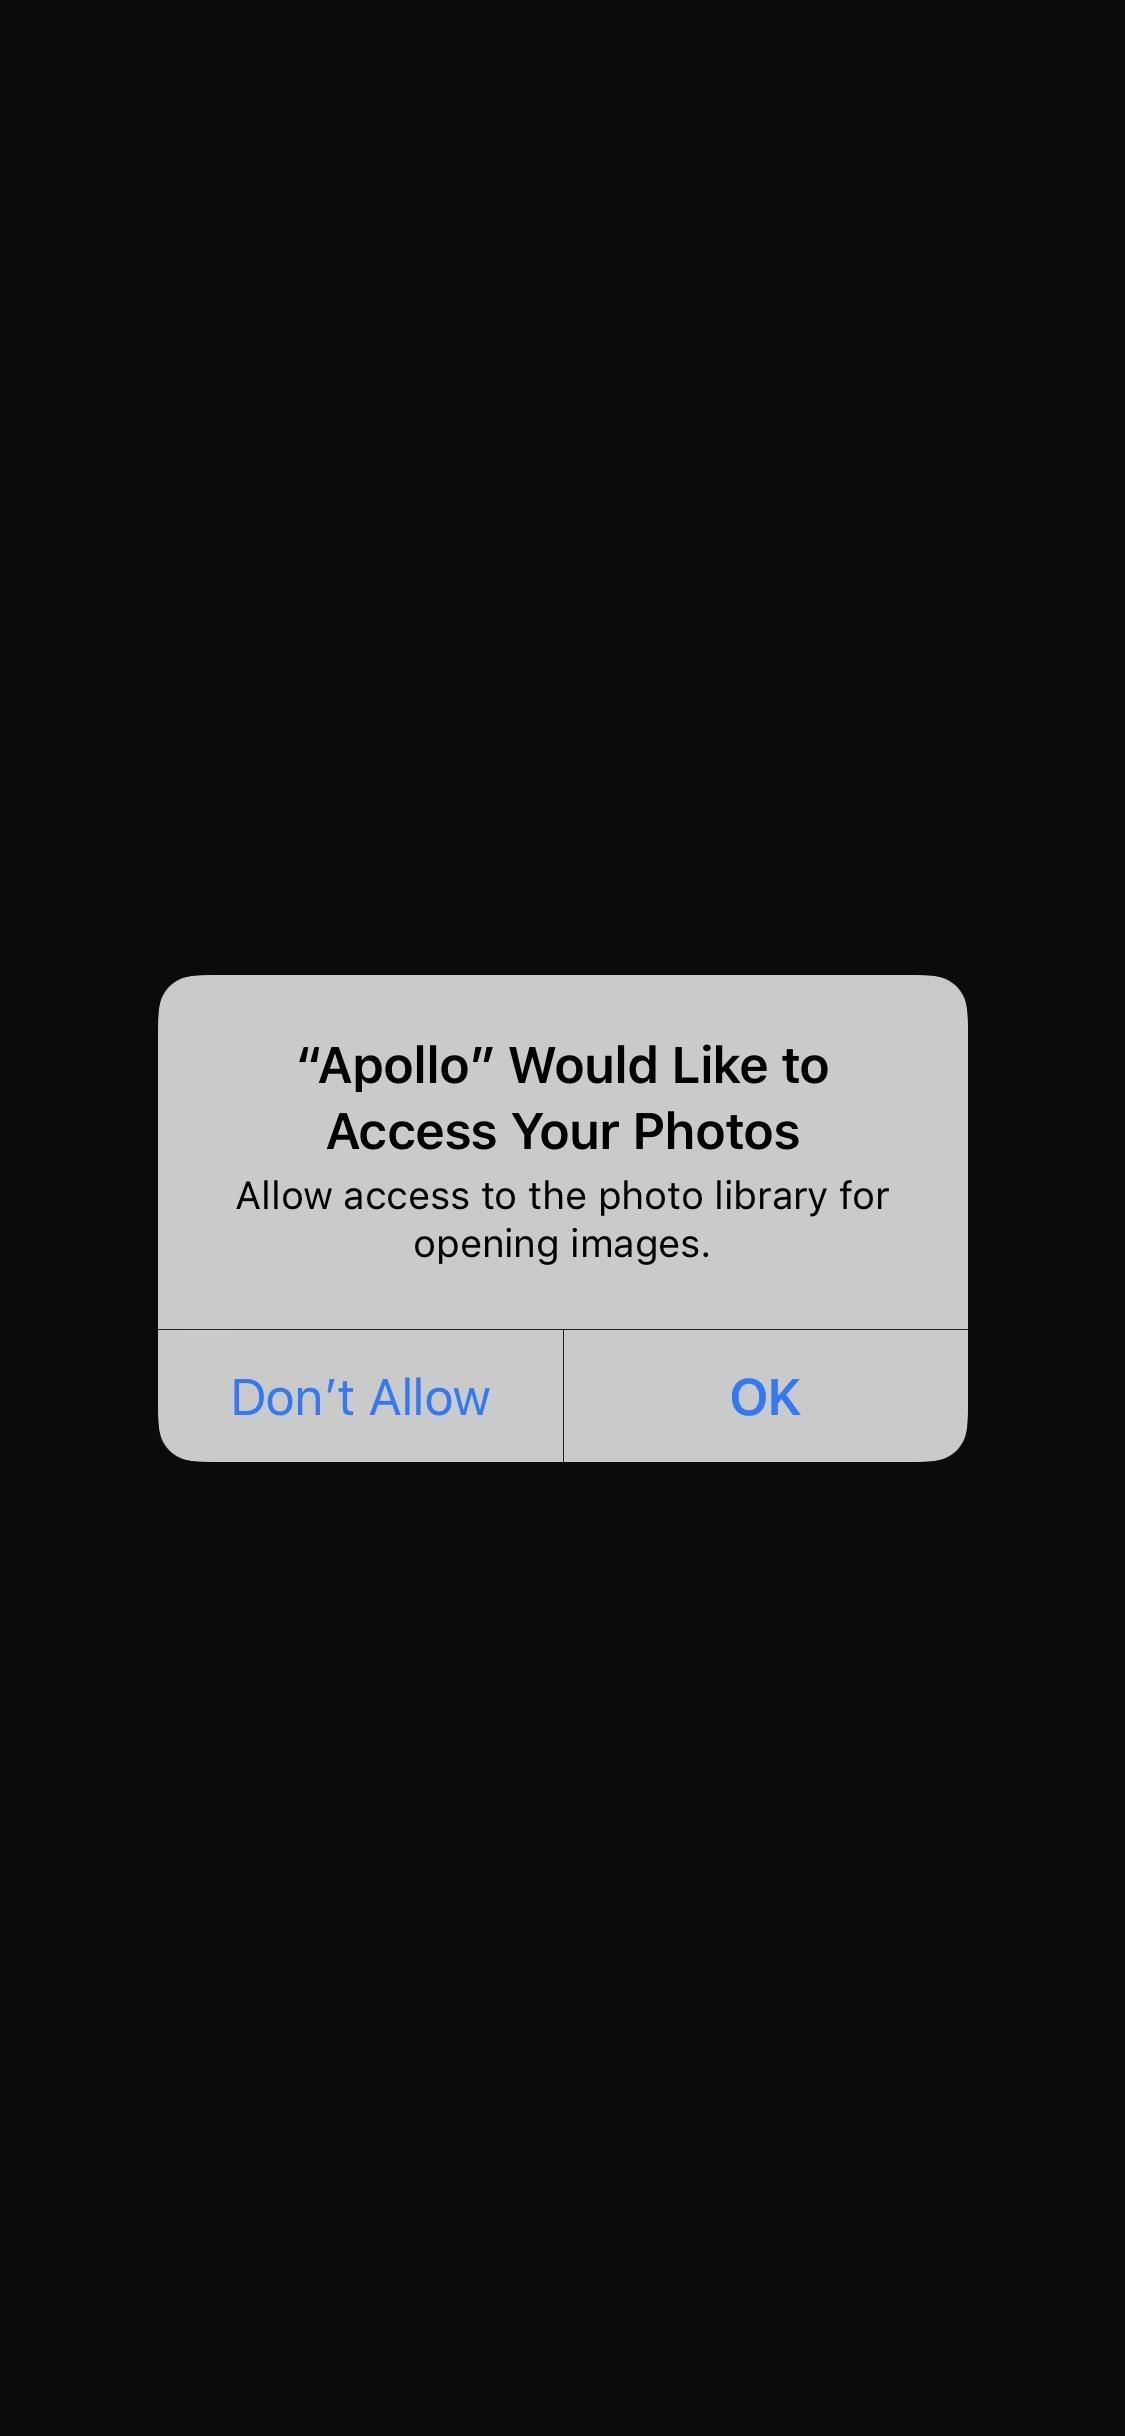
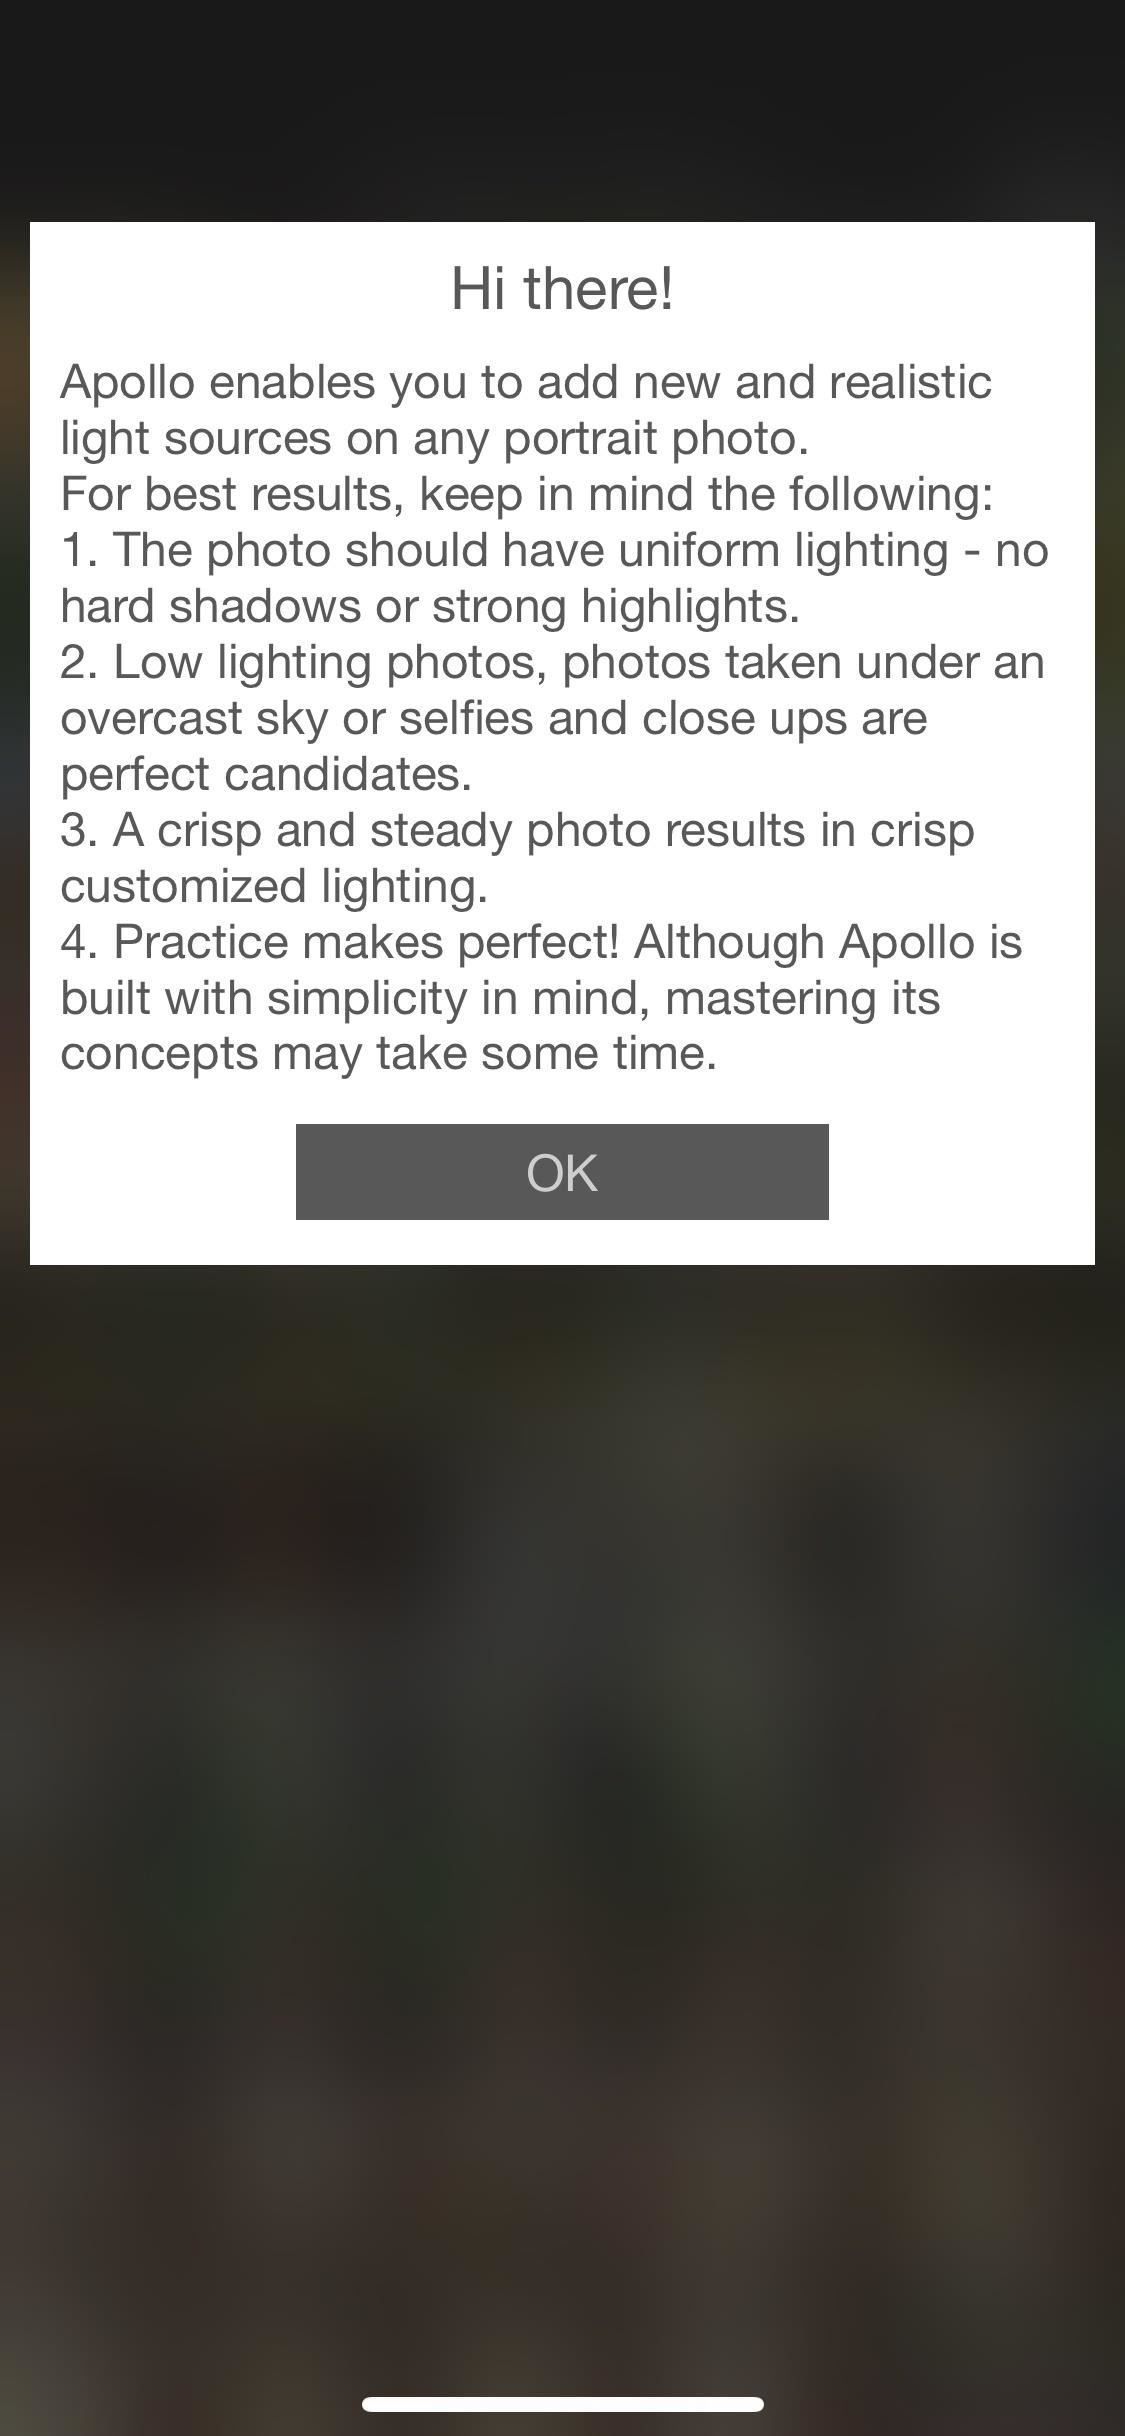
When you first open up Apollo on your iPhone, you'll need to grant the app access to your photo library, so go ahead and do so. Once done, you'll get a quick explanation of what type of Portrait mode images work best.
- The photo should have uniform lighting — no hard shadows or strong highlights.
- Low lighting photos, photos taken under an overcast sky, or selfies and closeups are perfect candidates.
- A crisp and steady photo results in crisp customized lighting.
- Practice makes perfect! Although Apollo is built with simplicity in mind, mastering its concepts may take some time.
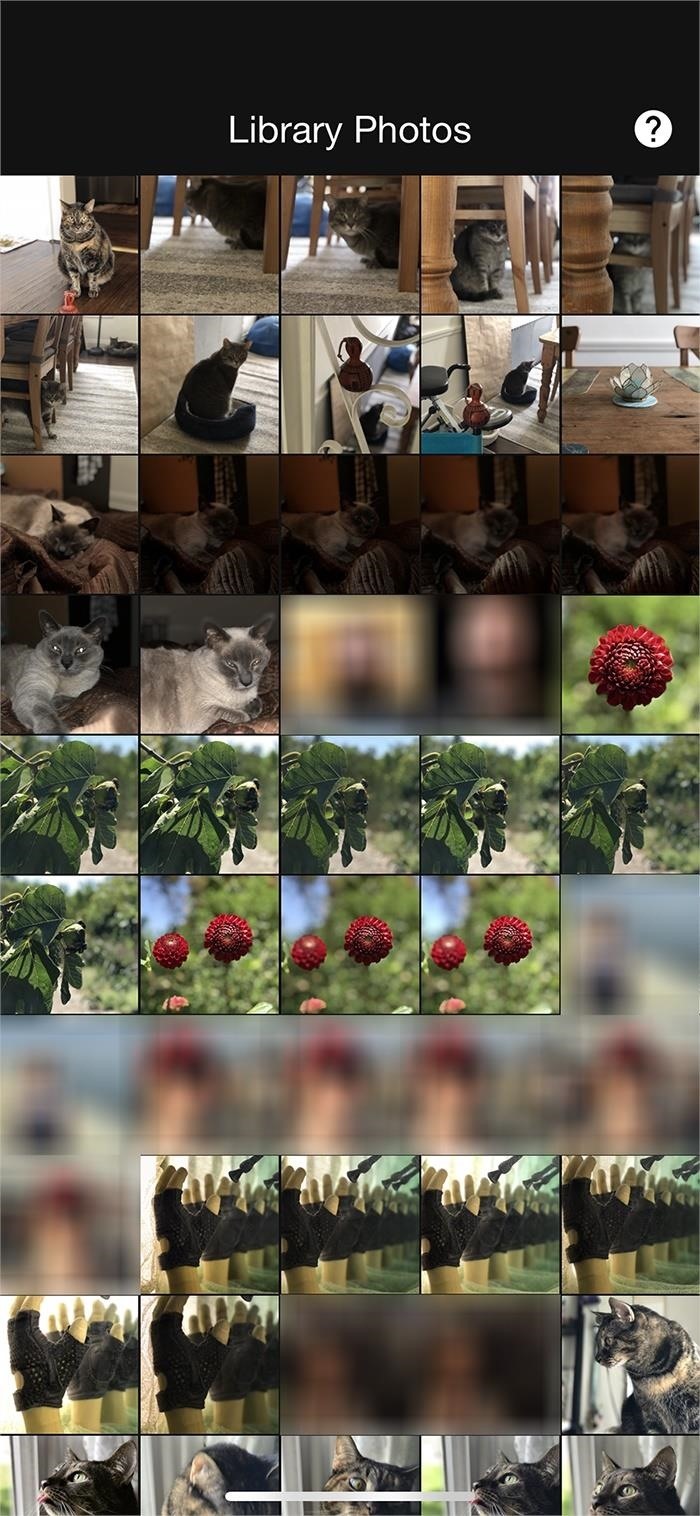
After tapping "OK" to dismiss the hints, you'll be taken right to the Library Photos page which only includes Portrait mode pics you took, that way you don't have to dig around trying to find a Portrait mode photo among all your other pics. Tap on the one you want to add lighting effects to and you'll be brought to the lighting editor.
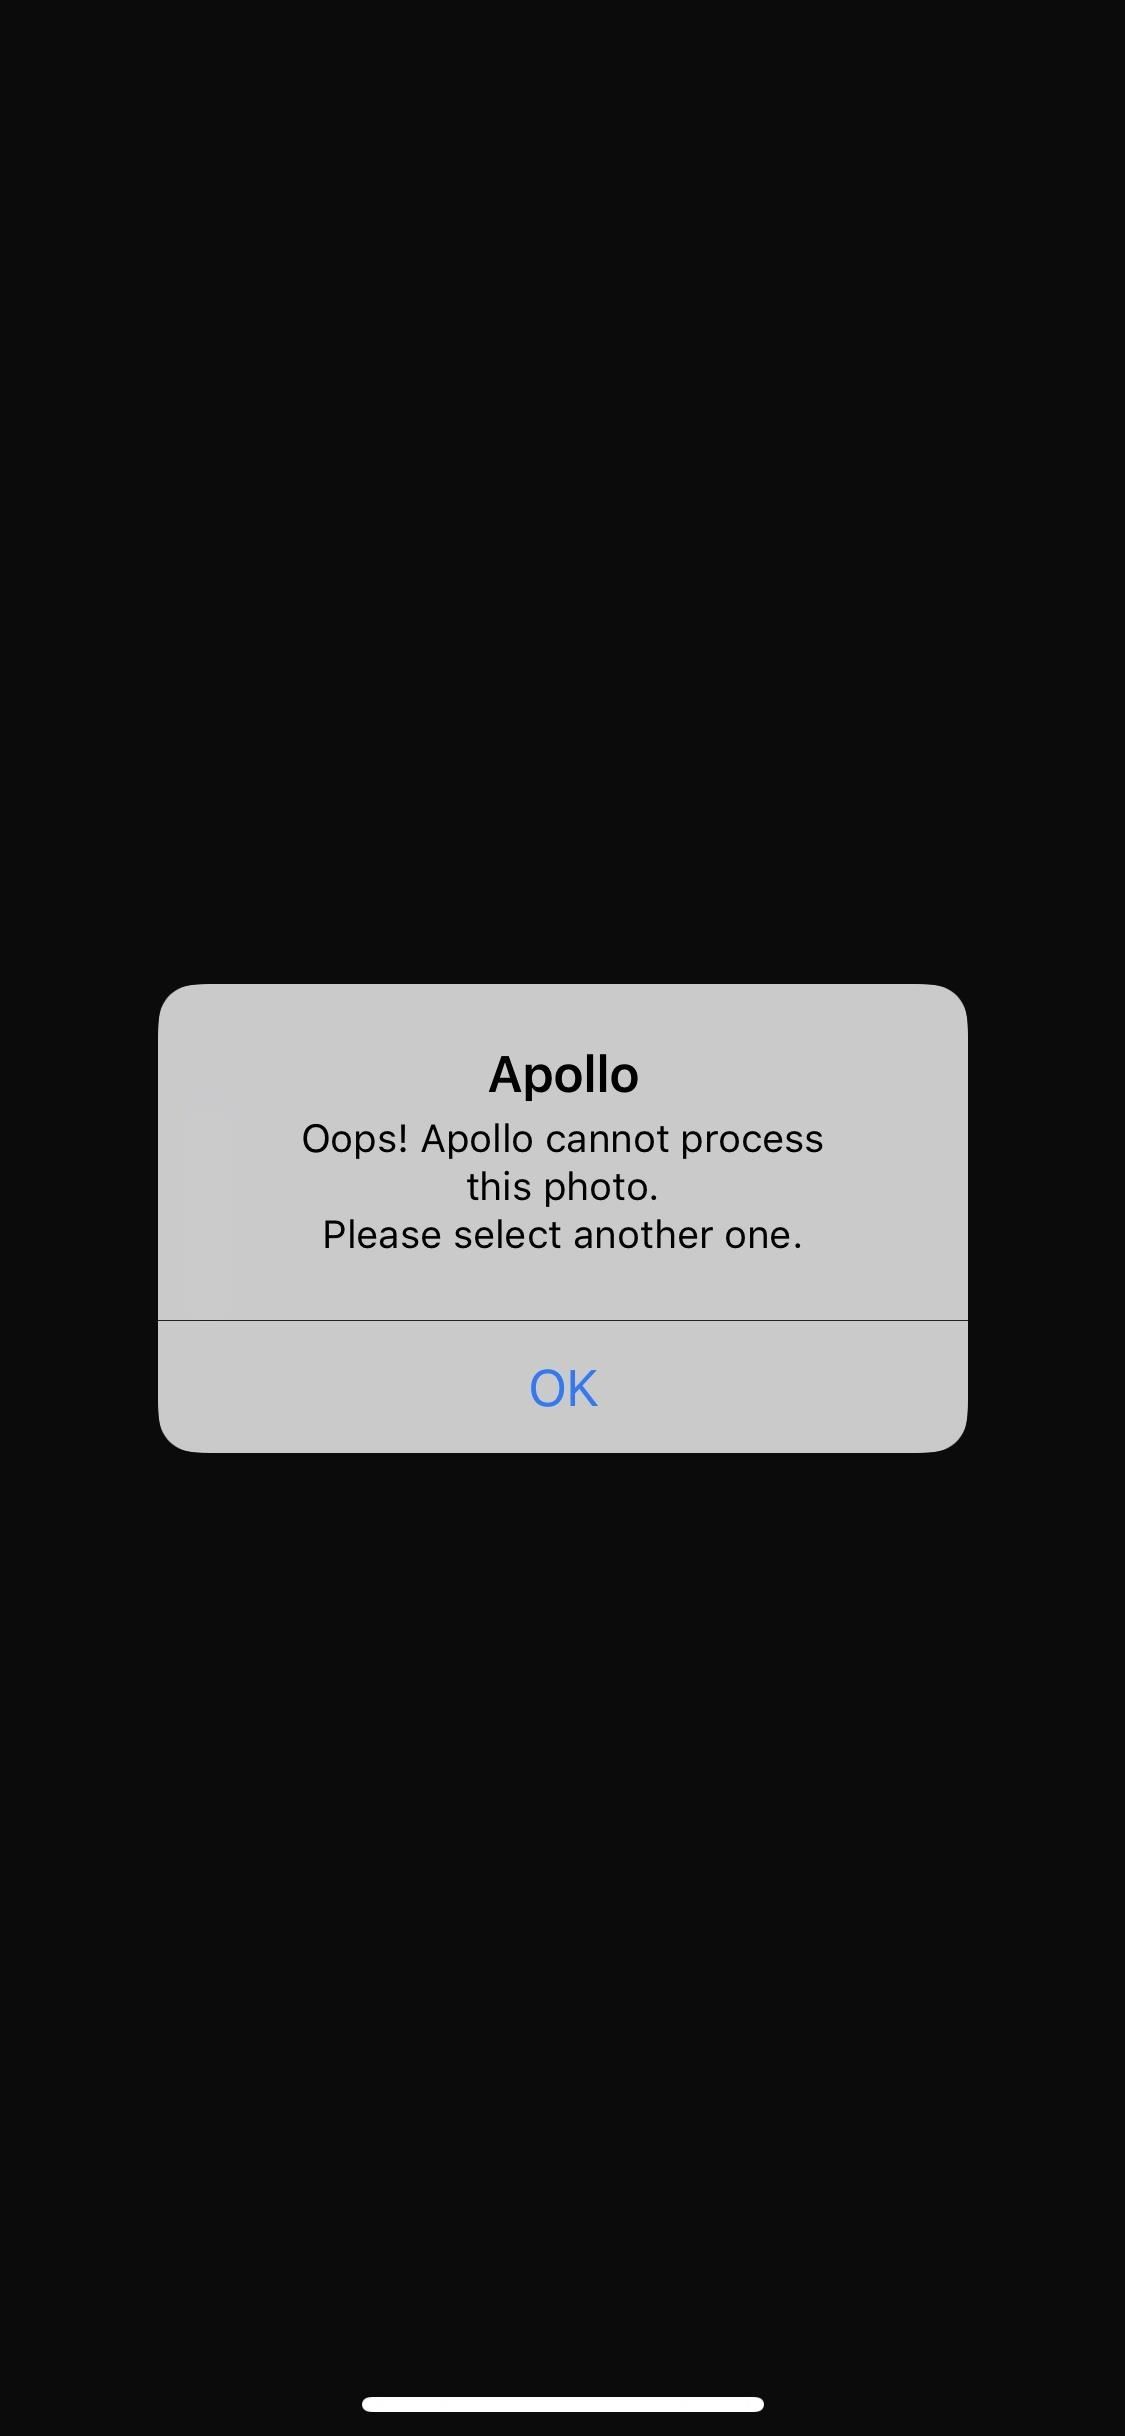
If the photo fails to meet some of the guidelines mentioned above, you may get a warning that "Apollo cannot process this photo," so you'll have to try another one or retake the photo if possible.
Step 3: Use the Help Tool to Learn the Ropes
I won't go into too much detail about to how to use Apollo since the app itself has a great help tool available and because half the fun is playing around and experimenting with different options and multiple light sources.
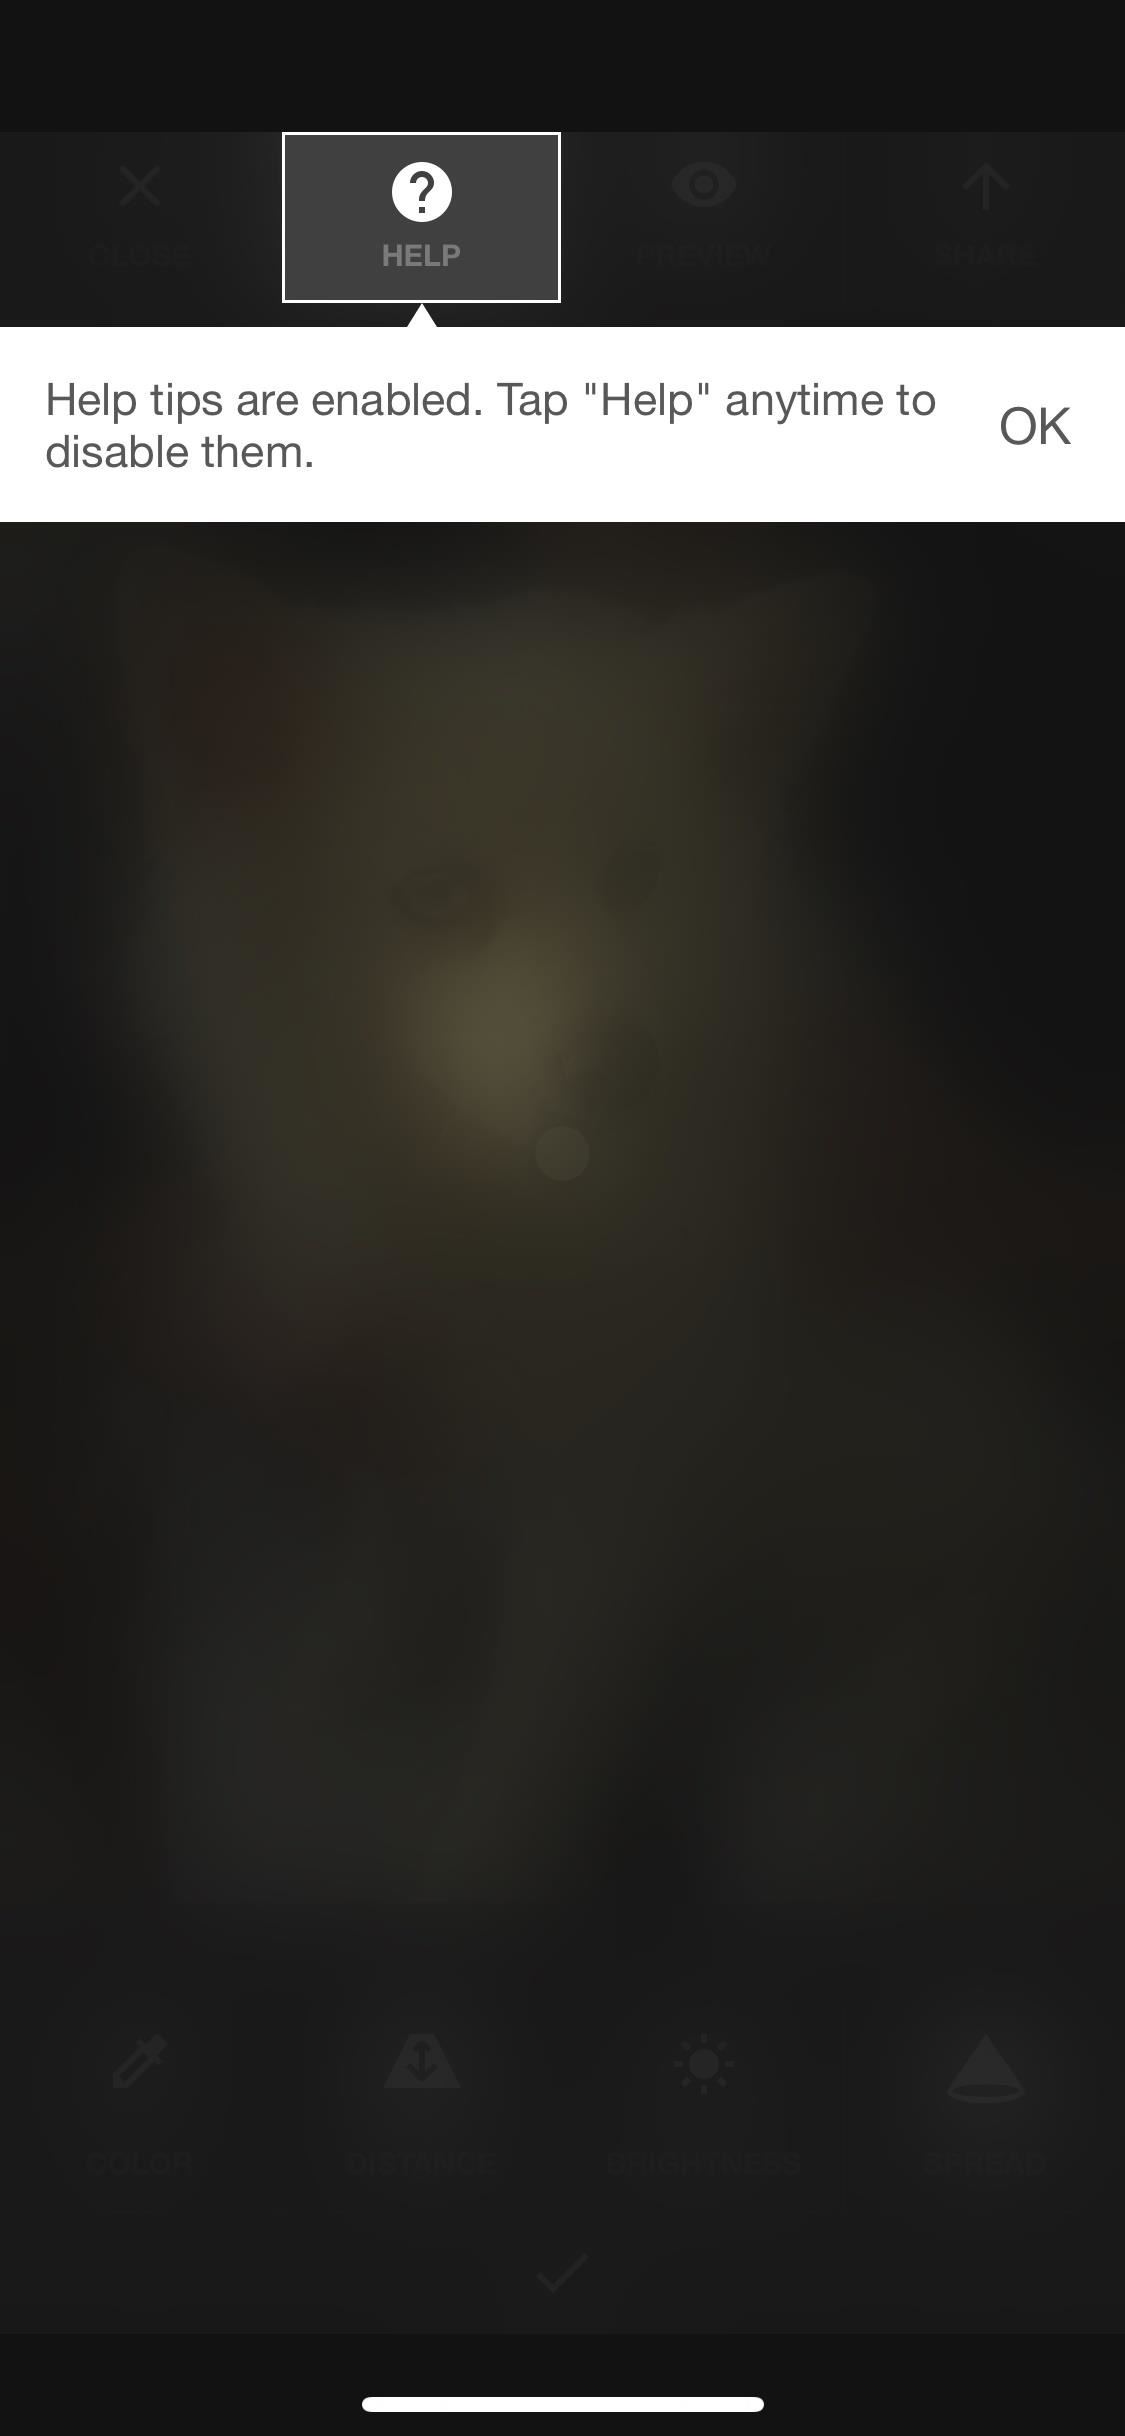
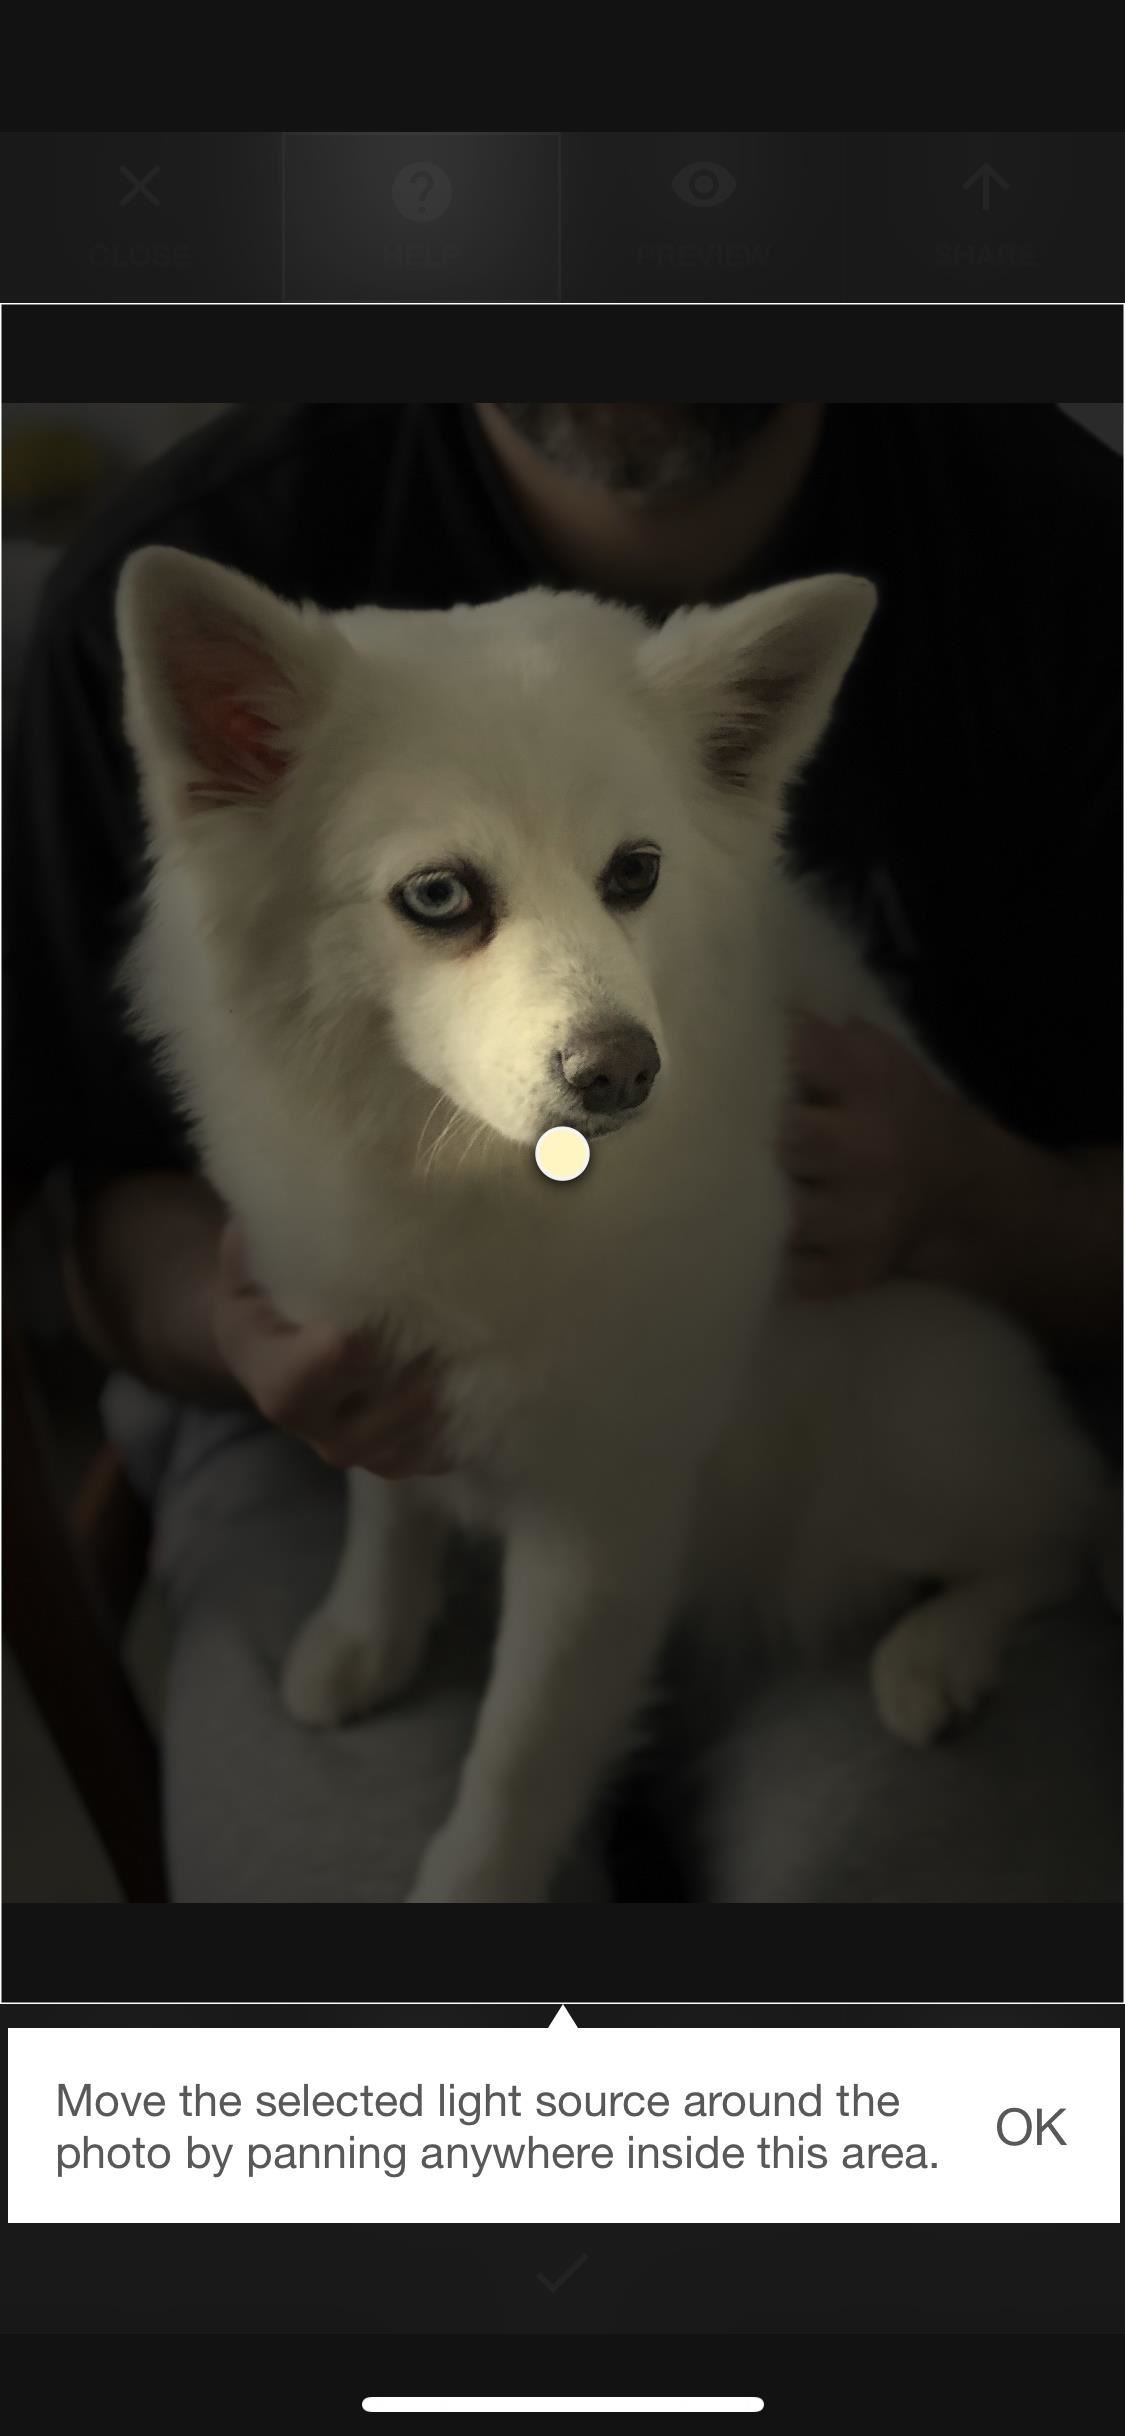
As for those help tools, when you first start playing around, you'll see prompts right away that tells you how to interact with each tool available to you. You can dismiss these tools by tapping "Help" up top, and any time you forget how to use a particular tool you can reactivate the guidance by tapping "Help" again.
Step 4: Add Lighting Effects
Like I mentioned in the previous step, experimenting is the best way to get used to everything that Apollo can do to your images. Once you start playing around and seeing what you can do with lighting effects, you can begin shooting Portrait mode photos with Apollo in mind, shooting new images knowing exactly where you plan on putting new light sources and effects when editing.
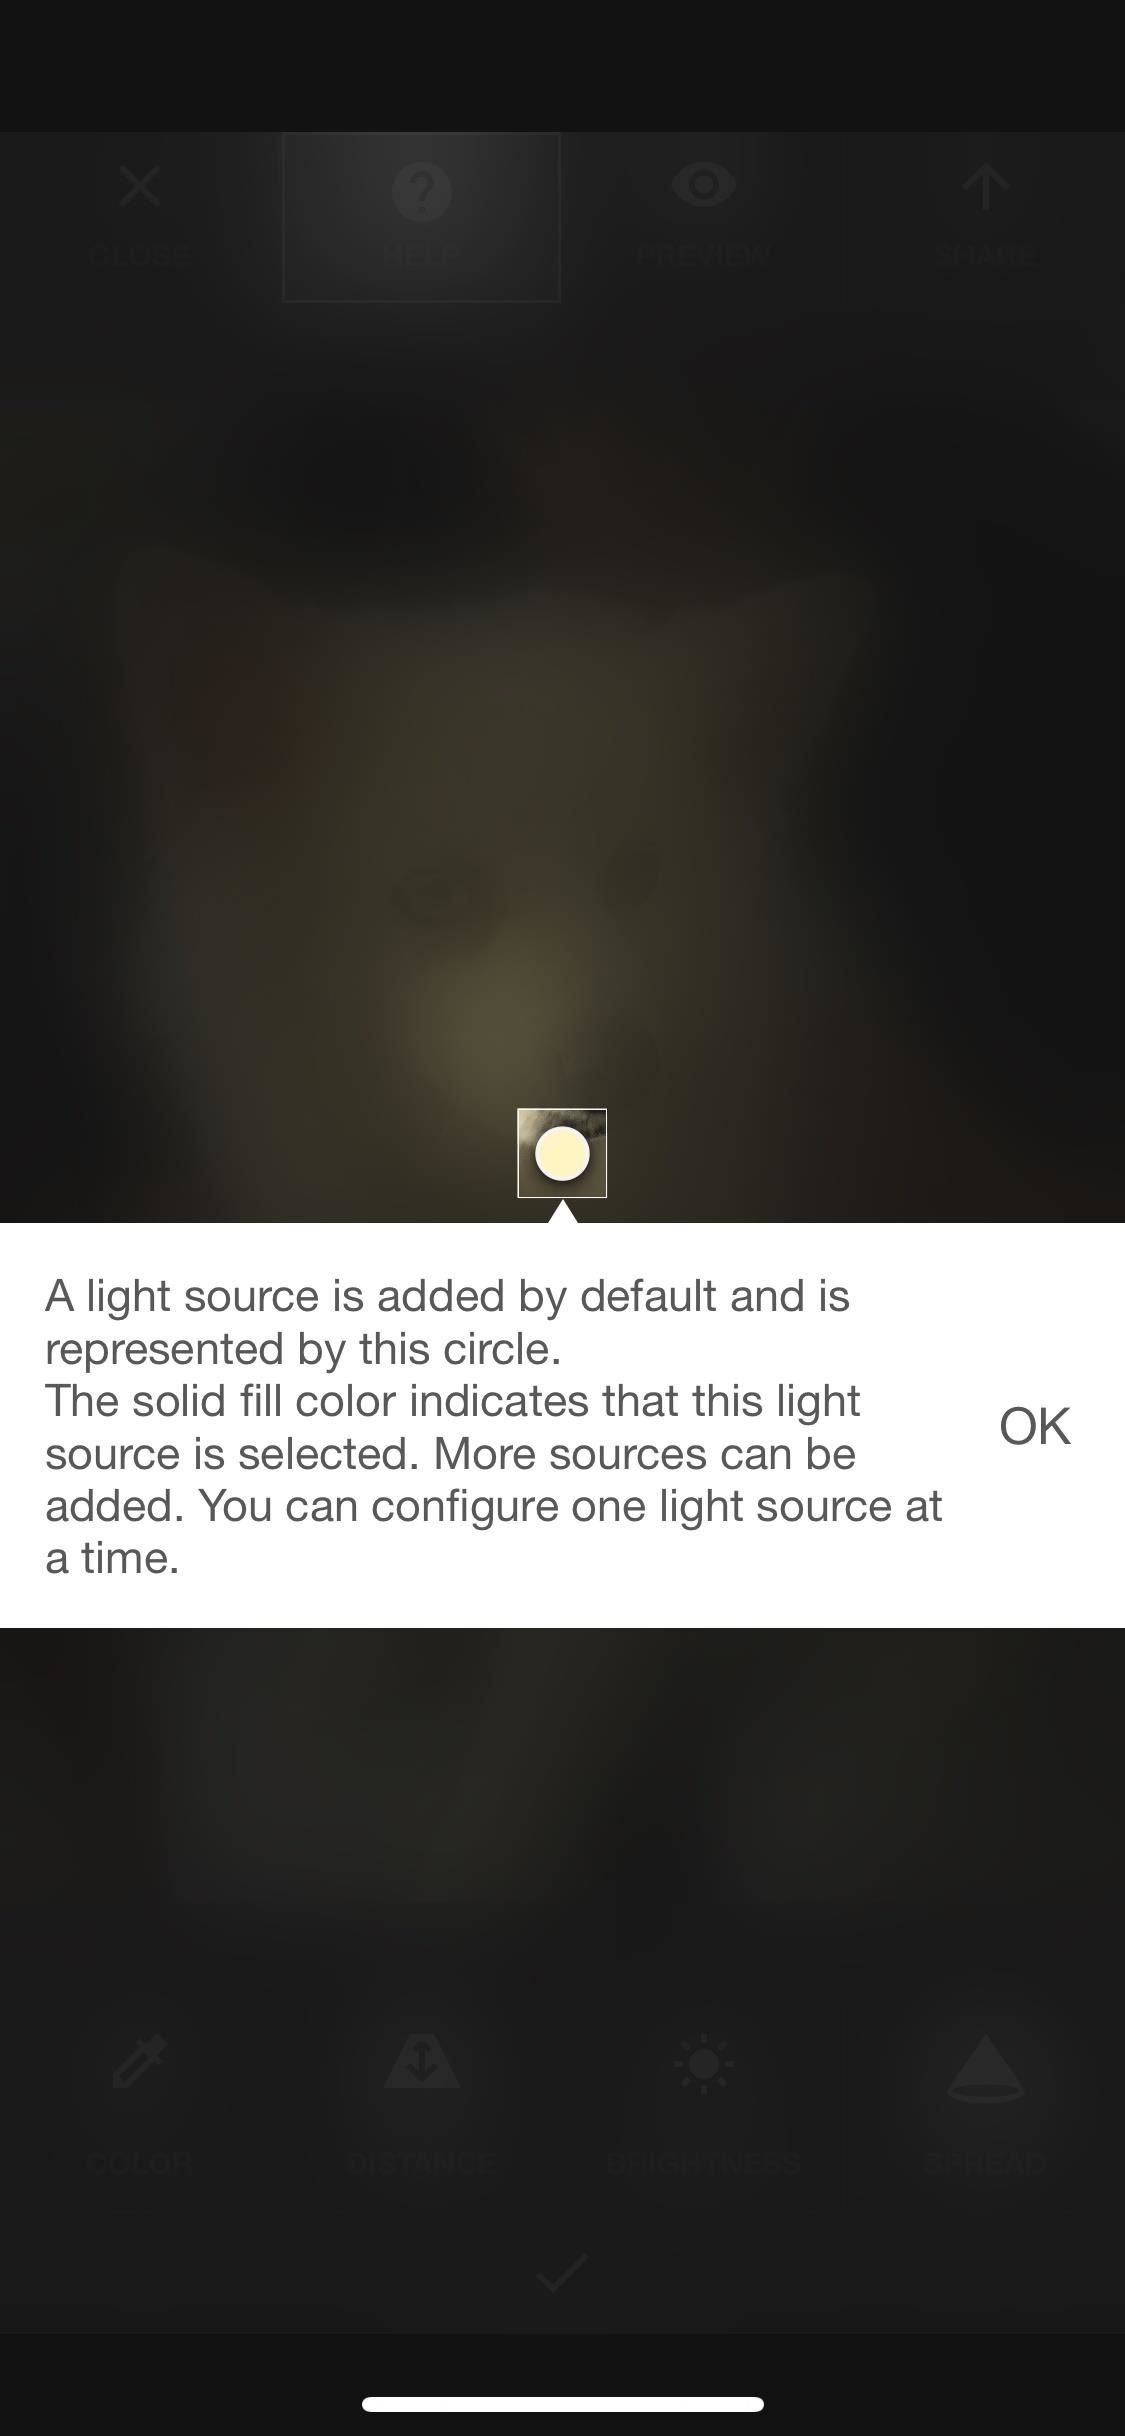
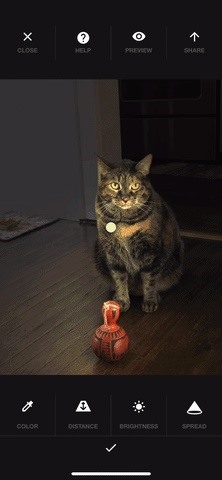
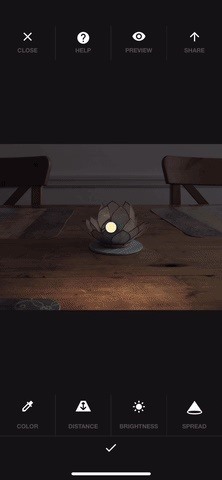
Light sources are represented by hollowed circles unless they are selected, then they are solid color dots. When editing a light source, you can change its location by moving the dot around. You use the toolbar at the bottom to adjust color (the temperature of the light), distance (in 3D space ... you can even place it behind an object to create halos and silhouettes), brightness (intensity), and spread (like a flashlight's adjustable focus).
When you tap on the checkmark, you'll be able to create another light source (with the + button) or select another to edit (tap a circle), as well as adjust the amount of shadows that are automatically added to the whole image as well as the effect range overall. Tapping on the trash can icon when editing a specific light source will remove it from the draft.
Step 5: Preview the Original vs. Changes
At any time, you can tap "Preview" up top to see the image by itself. If you double-tap the picture, it'll either zoom in or out. You can also pinch to zoom in and out. A long-press on the image will reveal the original image underneath all the added effects, so you can quickly compare which you like best.


Once you're satisfied with your lighting scene, you can tap the "Share" button up top after exiting "Preview" mode to bring up the standard share sheet to send to other apps, copy, print, save, etc.
If you want to know more of the backstory behind Apollo and how it came to be, read the developer's "behind-the-app" post on Reddit. They've been working on the app ever since November 2017, so there have been six solid months of development before Apollo was released.
Just updated your iPhone? You'll find new emoji, enhanced security, podcast transcripts, Apple Cash virtual numbers, and other useful features. There are even new additions hidden within Safari. Find out what's new and changed on your iPhone with the iOS 17.4 update.


Be the First to Comment
Share Your Thoughts